Last Updated on by Prashant Poudel
Are you facing problem to take a screenshot on Mac? Then don’t worry you are in the right place. After the completion of this article, you will explore some amazing tricks to take a screenshot on Mac. There are some tools and hotkeys within MacOs that helps you to take a screenshot.
Screenshot can be really helpful. Through screenshot, you can share new programs with your friends, report some bugs or share an exciting moment with your family and many more. But screenshot can be painful sometimes. You unknowingly expose private information or disclose your personal stuff.

Mac offers various ways of taking screenshot. With Mac, you can capture your entire screen, portion of your screen or an entire window.
Ways To Take A Screenshot On Mac!
One great thing about Mac is that you don’t need anyother software to do basic task. It has built-in video editing tool, tools to take screenshot in a great way and everything else that you use in a daily basis. If you can get familiar with shortucts then you will enjoy using Mac.
There are some tricks that lets you to take screenshot on Mac. Now lets dive in towards the main topic. Taking screenshot on Mac depends on your choice. There are three opotions of taking screenshot. They are:
- Capture the entire screen
- Capture a portion of the screen
- Capture a window or menu.
1. Capture the entire screen

command+shift+3 is the easiest way to capture a screenshot on Mac. If you want to take a screenshot of an entire screen during the live stream or for other purposes then you can press these keys. It is helpful when you want to grab the quick screenshot.
While taking a screenshot with command+shift+3 , if you hold down the control key then it will copy screenshot into your clipboard and you can paste it anywhere you like.
2. Capture a portion of screen:

Command+shift+4 captures the portion of your screen. When you press command+shift+4, mouse pointer changes into the crosshair. Then you can click the crosshair and select the particular area where you want to take the screenshot.
3. Capture a window or menu:

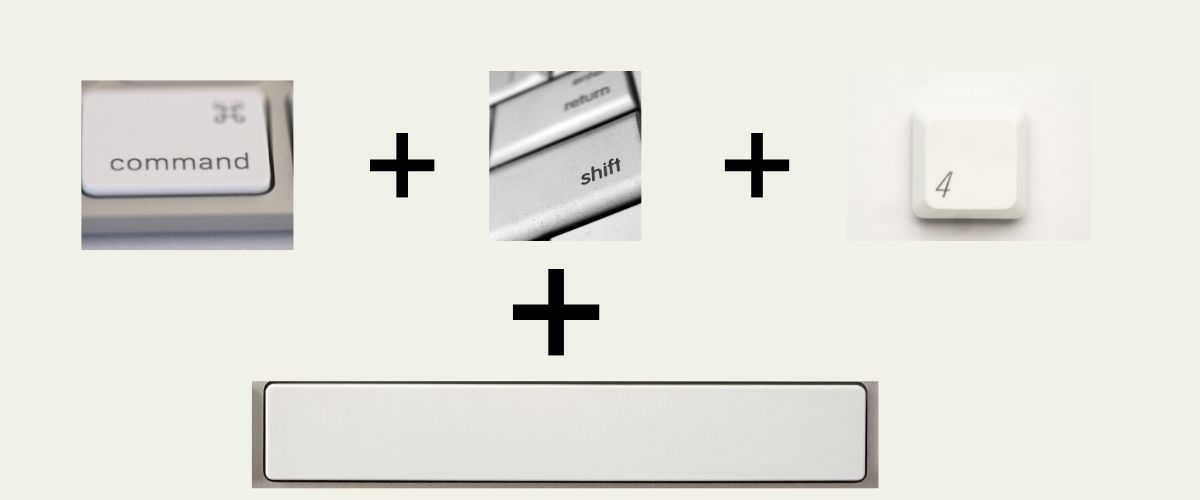
Command+shift+4+space is used to capture a window or menu in Mac. First of all open the menu or window you want to capture. After selecting the window, press command+shift+4+space. Now the pointer changes to the camera icon and you can capture the window. To cacel the process, press esc key.
Where To Find Screenshot?
It might be difficult for some user to locate the screenshot. The screenshot is by default saved yo your desktop with the name: Screenshot [date] at [time].png.In case of macOS Mojave or later, the location of the saved screenshot can be changed from the options menu in screenshot app.
Inorder to copy screenshot to clipboard, hold the control key while you take the screenshot. You can then paste screenshot wherever you want. You can also use Universal clipboard to paste in another apple device
How To Save Screenshot In JPG/PDF Format?
After you take the screenshot you might want to save the screenshot in jpg or pdf format according to your need. You might know that the screenshot we take is saved in pdf format by default. So there might be a different situation where you have to change the png format to jpg format. You can change the format by using the following command.
- Press command+space to open search box.
- Search for terminal and hit enter. You can now see the terminal window.
- Finally, copy and paste the following: defaults write com.apple.screencapture type jpg
The format now will be changed to jpg. To change into pdf format just replace jpg by pdf.
Also Checkout:


